Type above and press Enter or click ✚ ADD Switch to Kanban for a board view Use 📝 to add detailed notes to tasks
System Ready.
⚡ NOTES_OS — User Guide
Welcome to NOTES_OS
NOTES_OS is a combined drawing canvas + task manager. Use the DRAW and WRITE tabs at the top right to switch between modes.
💡 Quick Start: Switch to WRITE mode, type a task in the input bar, and press Enter. Switch to DRAW mode to sketch notes on an infinite canvas. All data saves automatically to your browser.
Two Modes
DRAW mode — A multi-page canvas for freehand sketching, diagrams, and annotations. Supports pen, highlighter, shapes, text, images, and layers.
WRITE mode — A full task manager with folders, priorities, due dates, subtasks, notes, recurring tasks, time tracking, and a Kanban board view.
Themes
Click the 🎨 palette icon in the header to switch between Hacker Green, Cyber Blue, Hot Pink, and Mono White themes.
Mobile
On mobile devices, a bottom toolbar appears with quick access to key tools. Swipe left/right on the canvas to change pages. Swipe on the header to switch modes. Swipe left on a task to delete it.
Drawing Tools
Select a tool from the toolbar or press its keyboard shortcut:
PPen — Freehand drawing. Supports pressure sensitivity with a stylus/tablet — press harder for thicker lines.
HHighlighter — Semi-transparent wide strokes, like a marker. Great for emphasis.
LLine — Draw straight lines. Snaps to grid when grid is enabled.
AArrow — Lines with an arrowhead. Useful for diagrams and flowcharts.
RRectangle — Draw box shapes. Press F to toggle solid fill.
CCircle — Draw ellipses. Press F to toggle solid fill.
TText — Click anywhere on the canvas to type text. An input box appears right where you click — type and press Enter to place it.
EEraser — Click or drag over objects to delete them. A red circle shows the erase area. Only erases objects on the active layer.
VSelect — Click any object to select it (dashed box appears). Drag to move. Corner handles let you resize images, rectangles, circles, and text. Press Del to delete, Ctrl+D to duplicate.
IEyedropper — Click anywhere on the canvas to pick that exact color as your drawing color.
Space hold + drag — Pan the canvas to scroll around.
Color & Stroke
The color swatches give quick access to 6 preset colors. Right-click a swatch to customize it. Use the circular color picker for any color. The Size slider controls stroke width (and text size for the text tool). The Opacity slider (5–100%) controls transparency of new strokes.
Grid & Snap
Press G to cycle grid modes: Off → Full Grid → Vertical Lines → Horizontal Lines. When any grid is active, shapes (line, arrow, rect, circle) and text automatically snap to grid intersections for precise alignment. A "SNAP" indicator appears in the corner.
Layers
The layer panel (top-right of canvas) provides 3 drawing layers. Click a layer to make it active — all new strokes go on the active layer. Click the 👁 icon to hide/show a layer. The eraser only affects the active layer. Double-click a layer name to rename it.
Pages
Use ❮ and ❯ in the header to navigate pages. Going past the last page creates a new one. Each page has its own strokes, grid setting, and layer content. You can link tasks to specific pages using the 🔗 button.
Images
Click the 🖼 button or drag-and-drop an image file onto the canvas to import it. Use the Select tool to move and resize imported images.
Creating Tasks
Type in the input bar and press Enter or click ✚ ADD. You can set:
Priority — Low, Medium, or High. Affects the colored left border and Kanban column.
Due Date — Tasks show badges: "Today" (yellow), "2d" (days remaining), or "3d overdue" (red).
Repeat — Daily, Weekly, or Monthly. When you complete a recurring task, a new uncompleted copy is automatically created with the due date advanced.
📝 Notes — Click the 📝 button next to ADD to expand a text area for detailed notes before creating the task.
Task text supports simple markdown: *bold*, _italic_, ~strike~, `code`
Managing Tasks
Checkbox — Mark a task complete. Recurring tasks auto-create the next occurrence.
Double-click text to edit a task inline.
Drag ⋮⋮ handle to reorder tasks.
📝 on a task — expand/collapse notes. Green tint means notes exist.
☑ on a task — expand subtask checklist. Add nested steps, check them off individually.
⏱ on a task — start/stop time tracking. Cumulative time is displayed (e.g. "1h 23m"). Only one task can be timed at once.
🔁 badge — shows the task repeats. Completing it creates the next occurrence.
🔗 on a task — link it to a drawing page. Click the link to jump to that page.
📁 on a task — move it to a different folder. Opens a picker showing all folders including custom ones, with task counts.
× deletes the task (goes to recycle bin, recoverable for 7 days).
Swipe left (mobile) — reveals delete action.
Folders
Tasks are organized in folders (tabs at top of Write mode). Click + to create a new folder. Click a folder tab to switch. Double-click a folder tab to delete it and all its tasks. The "General" folder cannot be deleted.
Filter & Sort
The filter bar (All / Active / Done / Overdue) shows only matching tasks. The sort dropdown reorders by Manual, Priority, Due Date, or A-Z. The search box finds tasks across all folders — use ▲▼ to jump between matches.
Bulk Actions
Click ☑ Bulk to enter multi-select mode. Check the tasks you want, then use the action bar to Complete, Move to another folder, or Delete them all at once.
What is Kanban View?
Toggle Kanban View to see your tasks arranged in three columns by priority: High, Medium, and Low. This gives you a visual overview of your workload at a glance.
Using the Board
Drag cards between columns to change their priority.
Drop on empty columns — you can drag a card into any column, even if it's empty.
Quick-add — each column has an input at the bottom. Type and press Enter to add a task directly at that priority.
Completed tasks are grouped at the bottom of each column with a "✓ done" separator, shown at reduced opacity.
Column Collapse
Click the ▾ arrow on a column header to collapse it into a thin vertical strip. This saves space if you want to focus on one or two columns. Click anywhere on the collapsed strip (or the ▸ arrow) to expand it back.
WIP Limits (Work-In-Progress)
What is WIP? It limits how many active (uncompleted) tasks you allow in a column at once. This prevents overloading yourself with too many tasks in progress.
How to set: Double-click any column header. Enter a number (e.g. 3). Set to 0 to disable the limit.
What happens:
The header shows a count like WIP 2/3 — meaning 2 active tasks out of your limit of 3.
If you go over (e.g. WIP 4/3), the count turns red and the column border turns red as a warning.
Completed tasks do NOT count toward the limit — only unchecked tasks.
Example setup: Set HIGH to 3, MEDIUM to 5, LOW to 0 (unlimited). This forces you to finish high-priority work before starting new tasks.
💡 Tip: The idea comes from Kanban methodology — limiting work-in-progress helps you focus, finish tasks faster, and avoid spreading yourself too thin across too many things.
Pomodoro Timer
The timer in the header uses the Pomodoro Technique — alternating focused work periods with short breaks.
Controls
Click the timer display to start or pause.
Double-click to reset back to the beginning of the work phase.
⚙ button opens settings to change work and break durations.
How the Cycle Works
Timer starts in Work phase (W indicator, default 25 min).
The last 60 seconds flash red as a warning.
When work ends, a chime plays and a popup asks: "Start Break?" or "Skip".
If you start the break (default 5 min), the indicator switches to B.
When break ends, another popup asks: "Start Work?" or "Done for now".
The session counter tracks how many work sessions you've completed.
💡 Tip: The timer state persists across page refreshes. If you refresh mid-countdown, the timer calculates elapsed time and resumes where it left off (or triggers the completion prompt if it would have finished).
Per-Task Timer
Each task also has a ⏱ button for individual time tracking. Click to start, click again to stop. Time accumulates across sessions. Only one task can be actively timed at a time. Completing a task stops its timer.
Auto-Save
All data saves automatically to your browser's local storage (IndexedDB). You'll see "SAVING..." → "SAVED ✓" in the footer. No account or internet needed.
Backup & Restore
📤 Backup — Downloads a .json file containing ALL your data (drawings, tasks, settings). Keep this safe.
📥 Restore — Load a .json backup file. Warning: this overwrites all current data.
⚠ Backup Reminder: After 50+ changes without a backup, a yellow "⚠ Backup" indicator appears in the footer. Click it to instantly create a backup.
Markdown Export/Import
📄 MD↗ — Export all tasks as a Markdown (.md) file. Includes checkboxes, priorities, due dates, subtasks, notes, recurrence, and tracked time. Works with GitHub, Obsidian, or any text editor.
📄 MD↙ — Import tasks from a .md file. The parser recognizes folders (## headings), checkbox tasks (- [ ] / - [x]), priorities (🔴🟡), due dates, recurrence, subtasks (indented checkboxes), and notes (> blockquotes). Tasks are added to your existing data, not overwritten.
Recycle Bin
Click 🗑️ Bin in the footer. Deleted tasks are kept for 7 days. Click "Restore" on any item to bring it back. Use "Empty Bin" to permanently delete all items.
Reset
The ⚠ RESET button permanently deletes all data — drawings, tasks, and settings. Requires double confirmation. This cannot be undone.
Keyboard Shortcuts
Drawing Tools
P Pen
H Highlighter
L Line
A Arrow
R Rectangle
C Circle
T Text
E Eraser
V Select
I Eyedropper
F Toggle Fill
G Cycle Grid
Navigation & Actions
Alt+D Draw mode
Alt+W Write mode
Ctrl+Z Undo
Ctrl+Y Redo
Ctrl+D Duplicate selected
Del Delete selected
Space + drag — Pan
Scroll Zoom in/out
Enter Add task (in input)
Touch / Mobile
Pinch — Zoom canvas
Swipe ←→ on canvas — Change page
Swipe ←→ on header — Switch mode
Swipe ← on task — Delete
Long-press page btn — Previous page
Bottom dock — Quick tool access
🗑️ Recycle Bin
Deleted tasks are kept for 7 days. Click restore to recover.
📁 Move to Folder
⏰
Work Session Complete!
Session #1 — 25 min focused work
⚙ Pomodoro Settings
min
min
25m work / 5m break
In WRITE mode, add items to your lists, to-do list, etc.. via your voice to text. Just click on the microphone 🎤 button to dictate.
Welcome to Notes OS, a hybrid productivity environment that combines a multi-page digital whiteboard with an advanced task management system. Everything runs locally in your browser.
> 1. The Header & Global Controls_
🍅 Focus Timer:
Click the time to Start/Pause.
Double-Click to Reset.
Click ⚙ to set a custom duration (e.g., 50 mins).
🎨 Theme: Click the palette icon to switch between Hacker Green, Cyber Blue, Hot Pink, or Mono White.
⬌ Layout: Toggles the page controls between Left, Center, and Right.
⛶ Fullscreen: Expands the app to the full size of your monitor for distraction-free work.
> 2. ✎ Draw Mode (The Whiteboard)_
Use Alt + D to switch to this view.
[+] Tools:
✎ Pen (P): Freehand drawing.
📏 Line (L), ⬜ Rect (R), ◯ Circle (C): Drag to create shapes.
T Text: Click anywhere to type. Press Enter to stamp.
🖼 Image: Upload a screenshot/photo to annotate.
[+] Pages & Grid:
Pages: You have an infinite notebook. Use ❮ Prev and Next ❯ to navigate.
Grid: Click ▦ to toggle between Blank, Grid, Lines, and Dots.
[+] Saving:
Auto-Save: Saves automatically to browser cache.
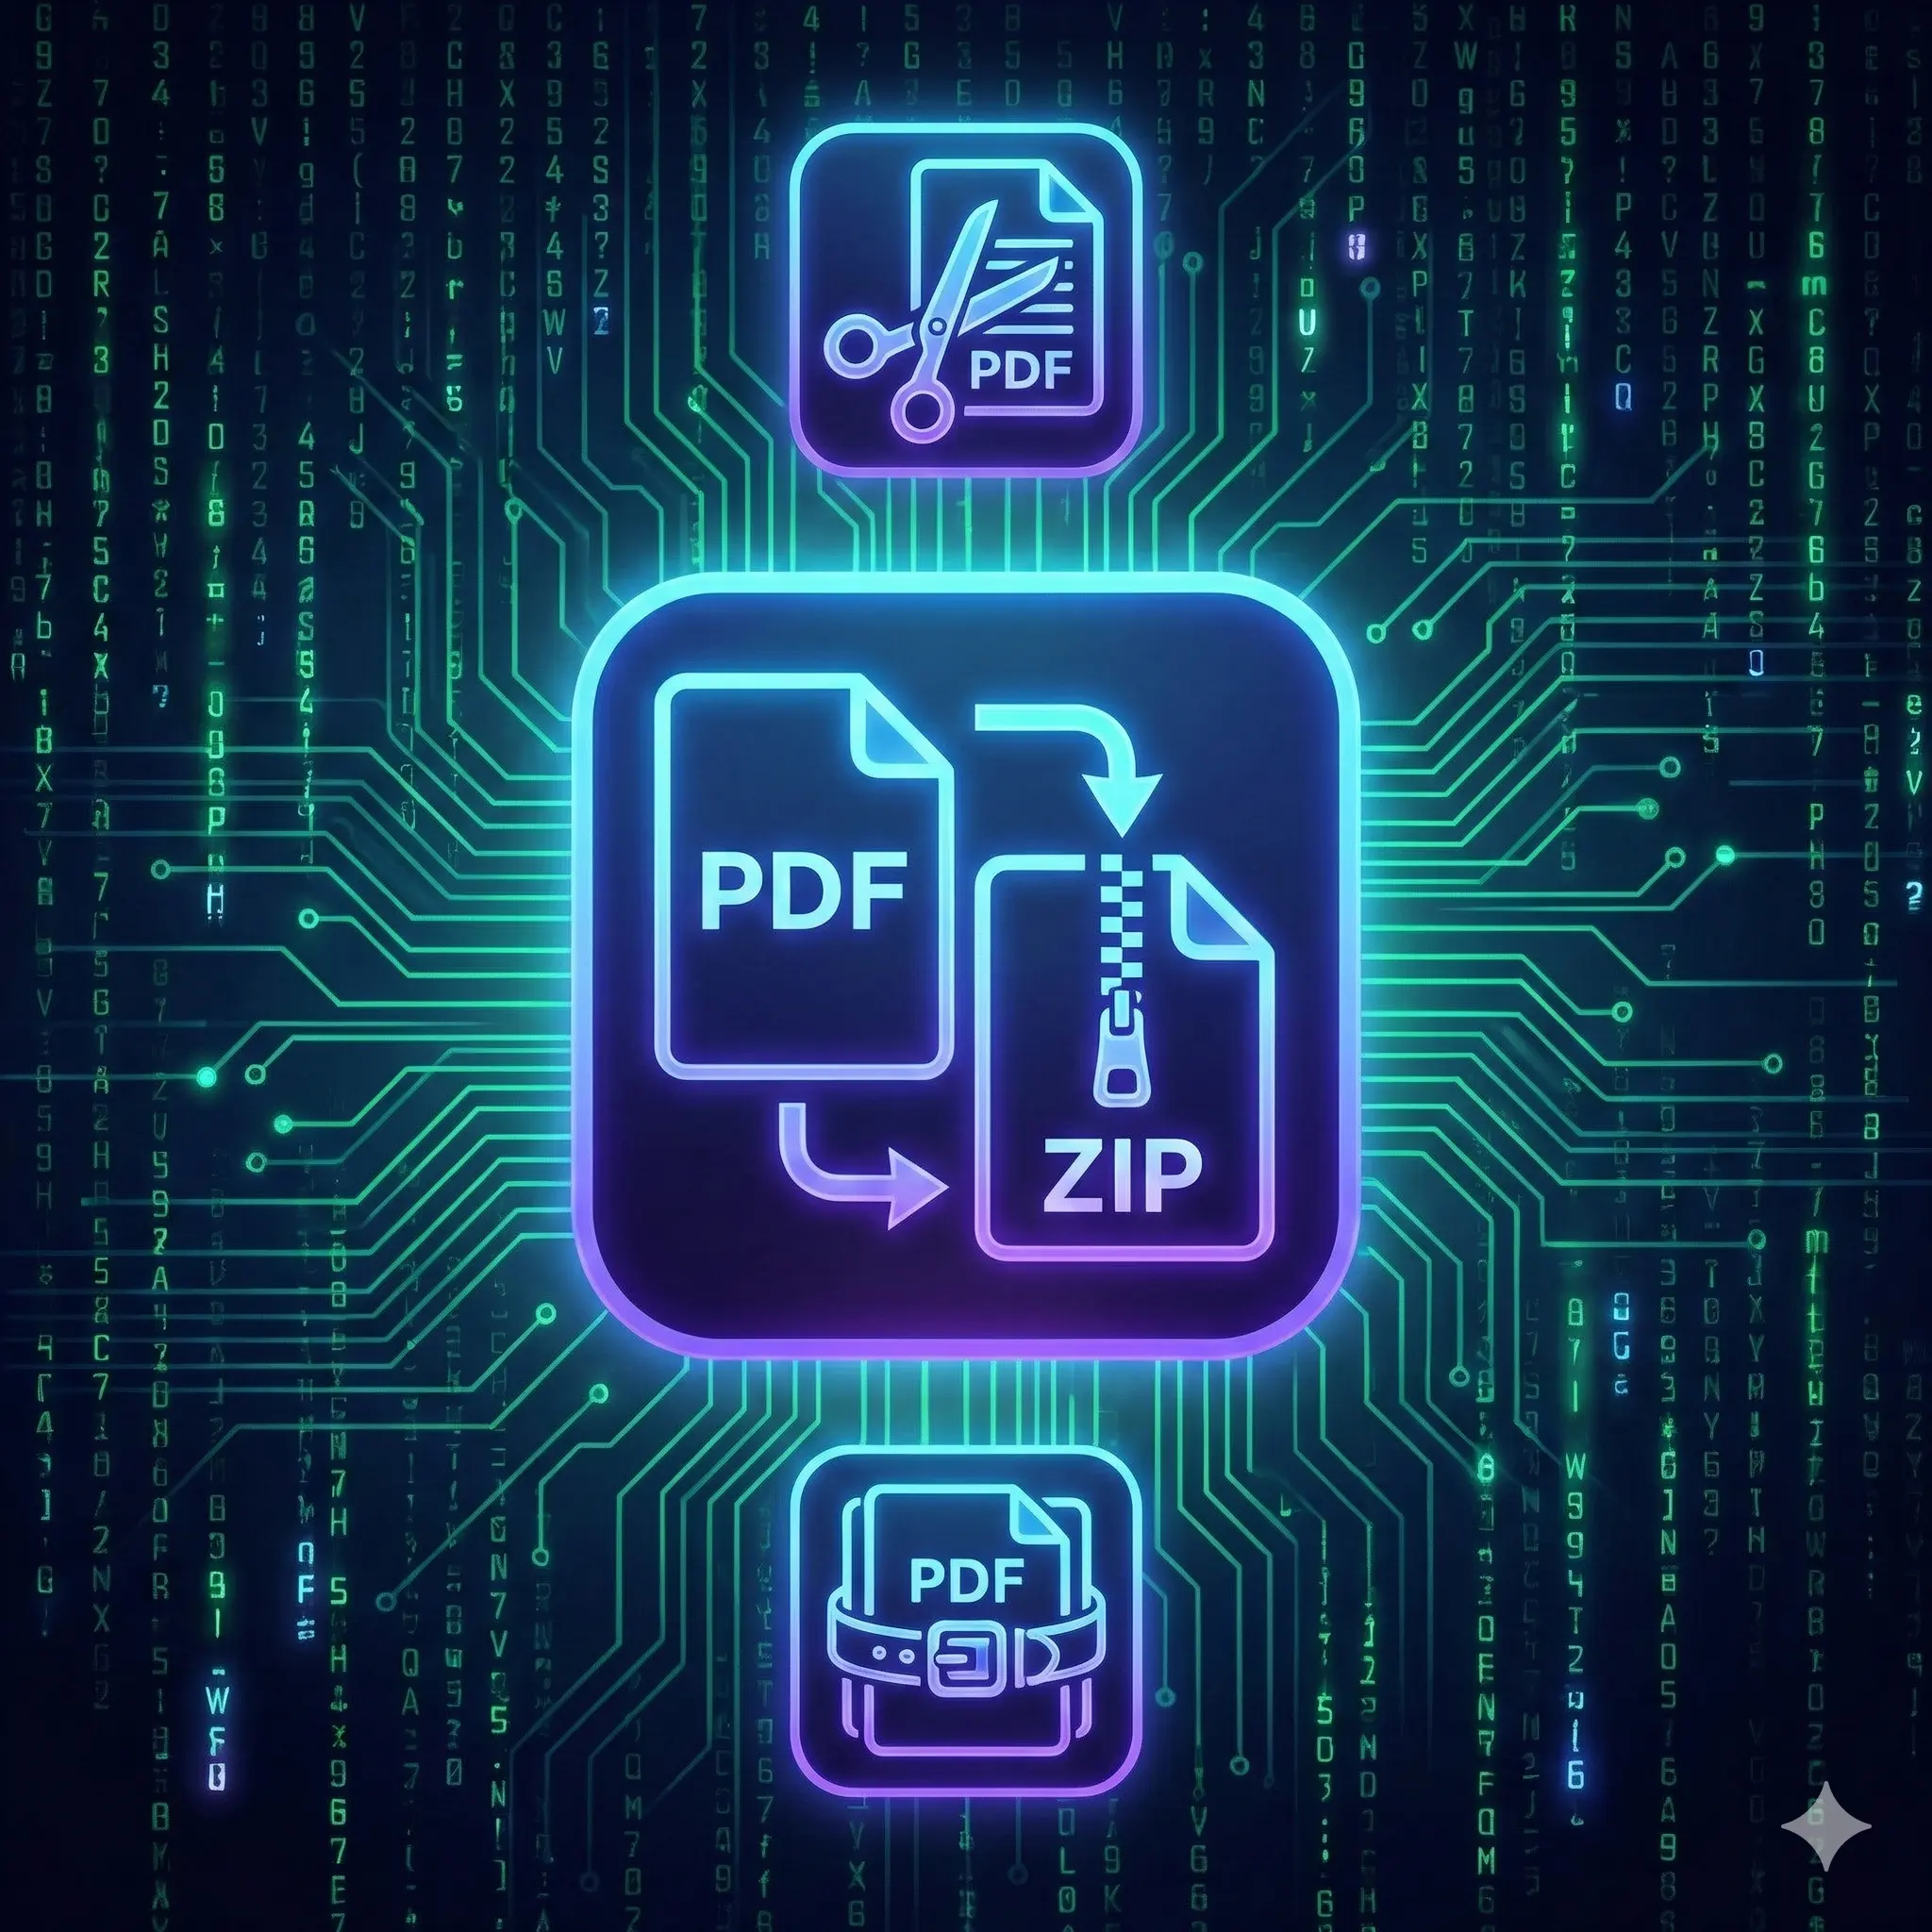
Download: Click ⬇ ▼ to save current page as PNG or all pages as ZIP.
> 3. 📝 Write Mode (The Task Manager)_
Use Alt + W to switch to this view.
[+] 🗂 Folders
Organize tasks into tabs.
New Folder: Click the small + button.
Delete Folder: Double-click a folder tab.
[+] Creating Tasks
Markdown: Type **bold**, *italic*, or [Link](url).
Priority: Low/Med/High sets the border color.
Due Date: Tasks glow red if overdue.
[+] Organization
Drag & Drop: Click and hold the grip handle (⋮⋮).
Global Search: Type in the search bar. Use arrows (▲ ▼) to jump between results across all folders.
> 4. 🔗 Advanced Linking (The “Killer Feature”)_
Connect your tasks to your drawings:
Create a task (e.g., “Fix Website Header”).
Click the Link (🔗) icon on that task.
Enter the Page Number where you drew the header design (e.g., “3”).
The icon changes to P.3. Clicking it will instantly switch to Draw Mode and load Page 3.
> 5. 🛡 SYS.DATA & BACKUP_
[!] IMPORTANT WARNING
Your data lives in your browser’s “Local Storage.” If you clear your cache, data will be lost. Always back up important work.
📤 Backup
Downloads a .json file containing all drawings, tasks, and settings.
📥 Restore
Uploads a previous backup file.
⚠ Reset
Wipes all data and returns the app to factory settings.
I am a dedicated technology enthusiast with over 45 years of life experience, passionate about computers, AI, emerging technologies, and their real-world impact. As the founder of my personal blog, MiltonMarketing.com, I explore how AI, health tech, engineering, finance, and other advanced fields leverage innovation—not as a replacement for human expertise, but as a tool to enhance it. My focus is on bridging the gap between cutting-edge technology and practical applications, ensuring ethical, responsible, and transformative use across industries.
MiltonMarketing.com is more than just a tech blog—it's a growing platform for expert insights. We welcome qualified writers and industry professionals from IT, AI, healthcare, engineering, HVAC, automotive, finance, and beyond to contribute their knowledge. If you have expertise to share in how AI and technology shape industries while complementing human skills, join us in driving meaningful conversations about the future of innovation. 🚀


