

FAQ: DIY Guide: Building Your Own Raspberry Pi Media Center
FAQ
Approx read time: 2 min.


Project Overview:
This DIY project involves setting up a Raspberry Pi as a media center using software like OSMC (Open Source Media Center) or Kodi. It’s a great way to create a low-cost, customizable media center for your home.
Materials Needed:
– Raspberry Pi (Model 3B or later recommended)
– Micro SD card (16 GB or larger recommended)
– HDMI cable
– Power adapter for the Raspberry Pi
– USB keyboard and mouse (for setup)
– Internet connection (Ethernet or WiFi)
– Optional: Raspberry Pi case
Step 1: Prepare the Micro SD Card
– Download the OSMC installer from osmc.tv/download/.
– Insert your Micro SD card into your computer.
– Use the installer to write OSMC to the Micro SD card.
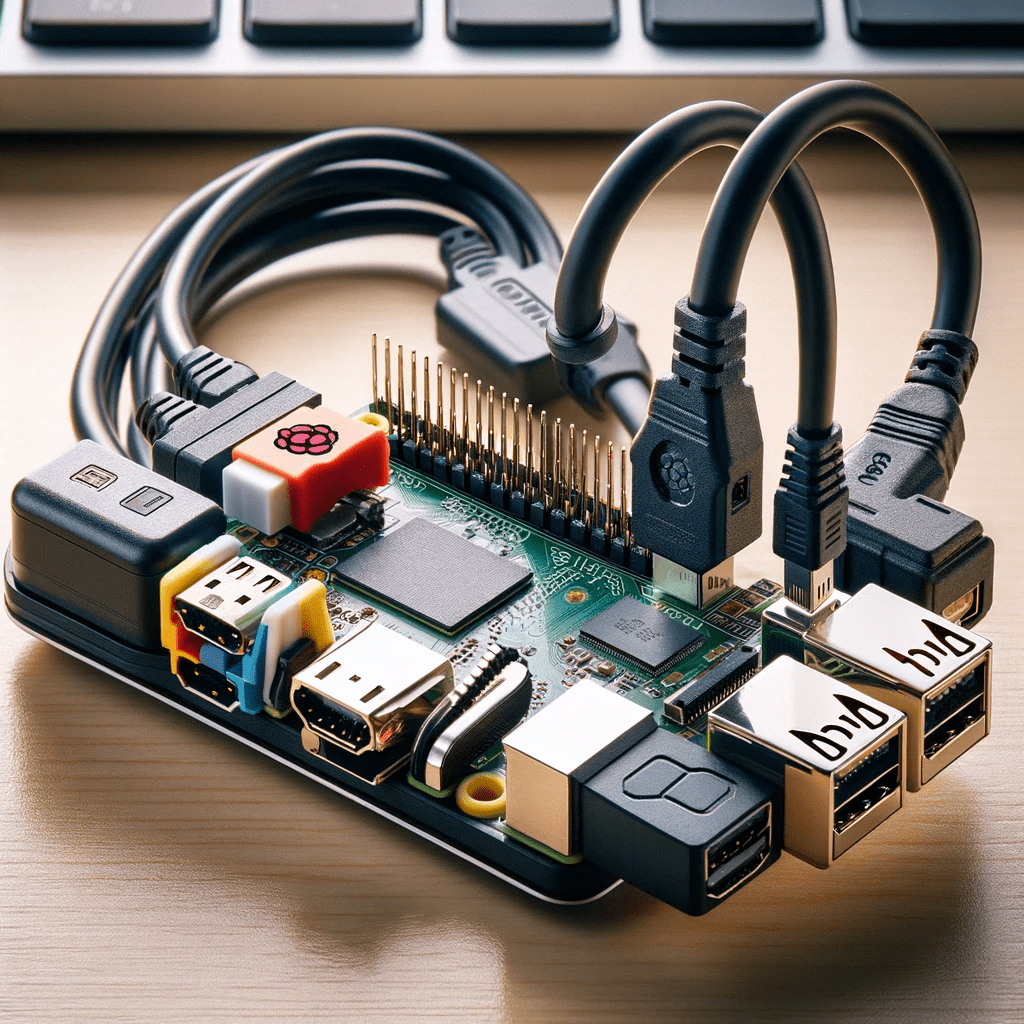
Step 2: Assemble the Raspberry Pi
– Insert the Micro SD card into the Raspberry Pi.
– Connect the Raspberry Pi to your TV or monitor using the HDMI cable.
– Connect the keyboard and mouse.
– Finally, plug in the power adapter to boot the Raspberry Pi.
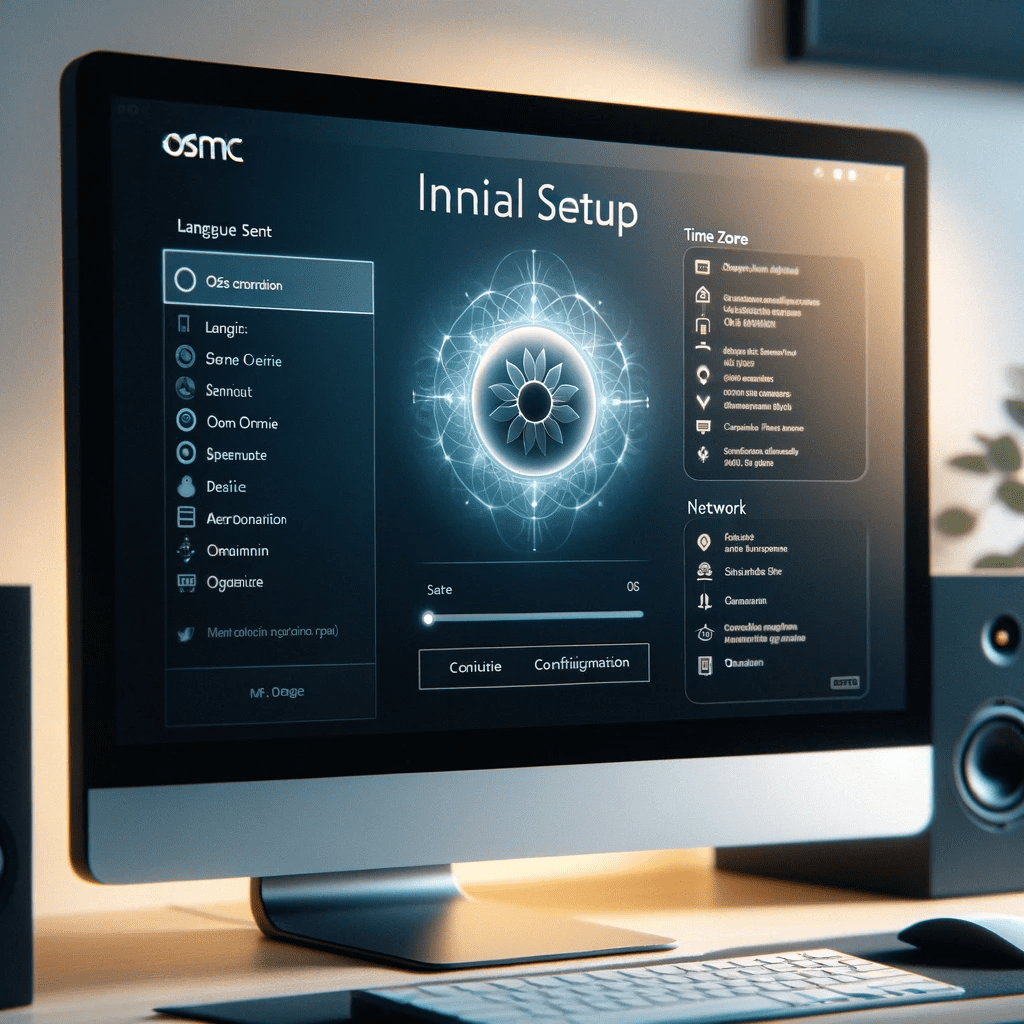
Step 3: Initial Setup
– Follow the on-screen instructions to configure OSMC.
– This includes setting up the language, time zone, and connecting to the internet.
– If you’re using WiFi, select your network and enter the password.
Step 4: Customizing OSMC
– Once OSMC is set up, you can customize it by installing add-ons.
– Go to the main menu, select ‘My OSMC’, and then ‘Store’ to find add-ons.
– Here, you can install various services like YouTube, Netflix, or Plex.
Step 5: Accessing Media
– You can access media by plugging a USB drive into the Raspberry Pi.
– Alternatively, you can stream from network storage or online services.
Step 6: Remote Control (Optional)
– You can control OSMC using a smartphone app.
– For Android, use ‘Kore’, and for iOS, use ‘Official Kodi Remote’.
Safety and Maintenance Tips:
– Ensure your Raspberry Pi is in a well-ventilated area to avoid overheating.
– Regularly update OSMC for the latest features and security patches.
Related Posts:
$25 Raspberry Pi add-on gets you started with edge computing AI(Opens in a new browser tab)
New Raspberry Pi challenger promises 7x the speed at 2x the price(Opens in a new browser tab)
USB O.MG cable opens Wi-Fi to remote attacks(Opens in a new browser tab)
Dharma Ransomware Uses Legit Antivirus Tool To Distract Victims(Opens in a new browser tab)
Screencastify for my online blog (DIY)(Opens in a new browser tab)
Related Faqs


Discover MiltonMarketing FAQ Categories:
About the Author: Bernard Aybout (Virii8)
I am a dedicated technology enthusiast with over 45 years of life experience, passionate about computers, AI, emerging technologies, and their real-world impact. As the founder of my personal blog, MiltonMarketing.com, I explore how AI, health tech, engineering, finance, and other advanced fields leverage innovation—not as a replacement for human expertise, but as a tool to enhance it. My focus is on bridging the gap between cutting-edge technology and practical applications, ensuring ethical, responsible, and transformative use across industries.
MiltonMarketing.com is more than just a tech blog—it's a growing platform for expert insights. We welcome qualified writers and industry professionals from IT, AI, healthcare, engineering, HVAC, automotive, finance, and beyond to contribute their knowledge. If you have expertise to share in how AI and technology shape industries while complementing human skills, join us in driving meaningful conversations about the future of innovation. 🚀

